With Spring almost upon us, it’s time to start thinking about planning for the camping season. That means dusting off our camping equipment, de-winterizing RVs, spring cleaning, maintenance, and of course, beating everyone else in the rush to find the best place to camp!
1. Start booking your spots
Camping slots fill-up fast, so start looking for your ideal spots well in advance. Here’s some advice if your staying local in British Columbia:
- You can book at a BC Provincial Park two months ahead if you’re staying in-province. Online reservation is open 24 hours starting at 7:00am on March 21st this year. Their toll free reservation phone number is available from 7:00 am to 7:00 pm PST.
- Reservations are already open for Parks Canada sites
- Many private campgrounds are already taking bookings. Get information on many campgrounds in BC here.
- If you’re heading out-of-province, make sure that you look around and book your place early to avoid disappointment.
2. Open up and air your RV
Now it’s time to think about shaking down your RV, which has probably been closed up since you winterized it in the Fall. So take off the tarp or cover that you wrapped it in – maybe dust the cover off first before you store it, so it’s clean for when you next need it. Then open up the doors, windows, and cupboards of your camper and give it a good airing.
3. Check your tires
You’re not going anywhere if the tires are shot, so give them a good check-over. Make sure they’re not perished from the cold, check for flat-spots where they’ve been sitting, and check the pressures, inflating where necessary.
4. De-Winterize your water system
If you have any kind of RV, you should have winterized it’s water systems for the winter, typically by draining all of the water from the pipes and tanks, closing off the hot water tank, and filling the water lines with RV antifreeze. The time is now approaching where you will now need to de-winterize the water systems. We’ll go into this in more detail next post, but briefly, you’ll need to flush the system out with fresh water until the pink RV antifreeze-tinted water turns clear, and you’ll need to do this for each faucet, then you can turn your hot water heater’s bypass valve into the normal operating position, and replace the anode rod.
And don’t forget to tap, faucets, and other connections – such as toilets – for leaks.
An additional optional step that you can take is to add a half-cup of bleach to your main water tank and run it through the tank and the entire system. Leave it overnight, then flush it once again with fresh water until the bleach has cleared. This has the effect of killing any bacteria that may have built up in your water tanks over the winter.
5. Check your batteries
Before you check your batteries, make sure you have disconnected the hook-up power cable, and then ensure that all power is in the OFF position.
- Check the battery terminals and cable connections to make sure that they are clean and have not corroded over the cold period.
- Check the sides and the bottom of the battery for cracks from freezing temperatures – cracked batteries cannot be repaired and must be replaced.
- Check the battery fluid levels and only use distilled water.
- If you’re batteries haven’t been on maintenance charge over the winter, recharge them. If they won’t hold a charge, you’ll need to replace them.
6. Check your propane tanks
Propane tanks need to be checked too. Turn the tanks to the OFF position, then check the hoses, regulators and valves for aging or damage. If everything looks good, turn on your tanks and test the operation of your stoves, refrigerators, and furnace.
If you notice any corrosion, damage, or perishing, replace the propane tank before testing your appliances.
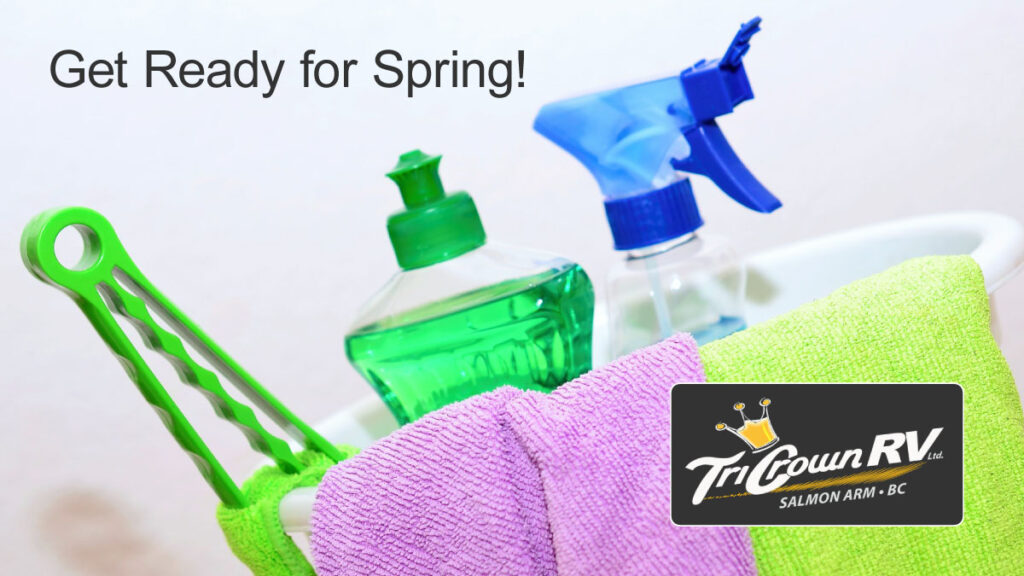
7. Cleaning
Finally, give the RV a complete internal wash and vacuum, then wipe out your cupboards and drawers, and start reloading for the new camping season!